August 26
Follow @saugus_sports on Instagram for more sports updates.
October 20
Want your club featured in The Scroll? Click here!
September 15
Check out our app by going to the About page
Close Menu
Search
Home
News
Feel Good News
Local News
School News
World News
Entertainment
Features
Opinion
Advice
Sports
Saugus Sports
Professional Sports
Wellness
Unity Of Community
Fun and Games
Creative Writing
Food
Travel and Leisure
Polls
About
Staff
Contact Us
The Scroll
Menu
RSS Feed
YouTube
Spotify
Instagram
X
Submit Search
Search
The Scroll
Home
News
Feel Good News
Local News
School News
World News
Entertainment
Features
Opinion
Advice
Sports
Saugus Sports
Professional Sports
Wellness
Unity Of Community
Fun and Games
Creative Writing
Food
Travel and Leisure
Polls
About
Staff
Contact Us
More
All content by Photo Credits- Caitlyn Dewaele
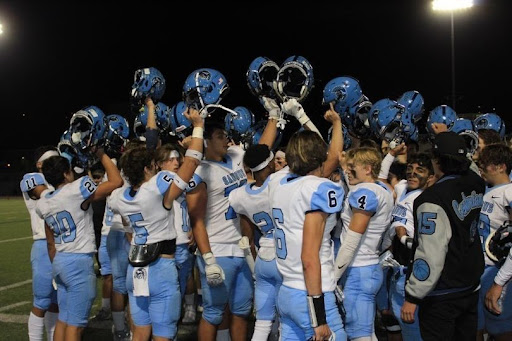
[Photo] Saugus Varsity Football 2021-2022 Season Highlights
Caitlyn Dewaele
, Sports Editor Trainee
December 6, 2021
Load More Stories
Search
Submit Search
Activate Search
Scroll to Top
Home
Photo Credits- Caitlyn Dewaele
Search
Home
News
Feel Good News
Local News
School News
World News
Entertainment
Features
Opinion
Advice
Sports
Saugus Sports
Professional Sports
Wellness
Unity Of Community
Fun and Games
Creative Writing
Food
Travel and Leisure
Polls
About
Staff
Contact Us
Close
Close Modal Window
Close